Smaller container images save time, money, and improve security. Here’s how you can achieve this:
- Use lean base images: Switching to images like Alpine or distroless can cut size by 50%-80%.
- Apply multistage builds: Separate build tools from runtime dependencies to reduce image bloat.
- Optimise Dockerfile instructions: Combine commands and clean up temporary files in a single step. Use
.dockerignoreto exclude unnecessary files. - Reorder layers for caching: Place rarely changed components first in your Dockerfile for faster builds.
Why it matters: Smaller images mean faster deployments, lower storage costs, and fewer vulnerabilities. For example, a Node.js image was reduced from 1.3GB to 87MB, cutting deployment time from 8 minutes to 30 seconds. Tools like Dive, SlimtoolKit, and Docker Squash can help analyse and streamline images further.
Docker Image BEST Practices - From 1.2GB to 10MB
Main Techniques for Reducing Container Image Size
Reducing container image size isn't just about saving space - it speeds up deployments, lowers costs, and enhances security. By using effective layering techniques, you can shrink image sizes by over 50% while improving performance and reducing vulnerabilities.
Using Minimal and Distroless Base Images
Switching to minimal base images is a game-changer. Traditional base images like Ubuntu or Debian often include unnecessary packages that add bulk from the very start.
Minimal base images keep only the essentials needed to run your application. For example, Alpine Linux offers a complete Linux environment in just 5MB. The difference is striking: replacing node:20 with node:20-slim reduces the image size from 586MB to 406MB. Opt for an Alpine-based variant, and you’re down to just 213MB - over 60% smaller than the original [6].
Distroless images take this a step further by removing shells, package managers, and debugging tools that runtime applications don’t need. These images include only your application and its runtime dependencies. For Python apps, this approach can reduce image sizes from hundreds of megabytes to under 50MB [2] [5].
Aside from size, these images also boost security. By eliminating unnecessary packages, you minimise the attack surface, removing components like shells that attackers could exploit for container escapes.
Implementing Multistage Builds
Multistage builds allow you to separate build tools from runtime requirements. Using multiple FROM statements in your Dockerfile, you can build your application in one stage and copy only the necessary artifacts to a lean runtime image. This keeps compilers and build dependencies out of production.
The results can be dramatic. In 2024, a fintech company reduced a Node.js microservice image from 1.3GB to just 87MB - a 93% reduction - using multistage builds with an Alpine base image. Deployment times dropped from 8 minutes to only 30 seconds [3]. A Python-based machine learning app saw similar success, shrinking from 1.2GB to just 8MB by combining multistage builds with distroless techniques [5].
Java applications also benefit greatly. For instance, a Spring Boot app can go from 400MB to 120MB by switching from a full JDK to a custom JRE created with jlink. Further optimisation with GraalVM native image compilation can bring it down to just 35MB [3].
Optimising Dockerfile Instructions
The way you structure your Dockerfile can have a big impact on image size and build efficiency.
Combine commands and clean up within the same layer to avoid leaving behind temporary files. Instead of using multiple RUN instructions for package installation, merge them into one and remove unnecessary files in the same step. This prevents bloated intermediate layers.
Use .dockerignore files to exclude unnecessary files from your build context. Similar to .gitignore, this file ensures development files, documentation, and other irrelevant content don’t make it into your container image. Properly configured .dockerignore files can significantly reduce build times and prevent sensitive files from being included.
These optimisations can reduce image sizes by 10-30% while improving security by eliminating redundant packages [3].
Reordering Layers for Cache Efficiency
Layer ordering in your Dockerfile can improve both build speed and storage efficiency by leveraging Docker’s layer caching. The trick is to place stable components in lower layers and frequently updated files in upper layers.
Start with items that rarely change, such as the base image, system package installations, and core dependencies. These layers will be cached and reused across builds. Place application code and configuration files - things you update frequently - towards the end of your Dockerfile.
For example, in Node.js projects, copy package.json and run npm install before adding your source code. This ensures that when you modify application files, Docker reuses the cached dependency layer instead of reinstalling everything. Teams that adopt this strategy often see build times drop by 50% or more, especially when combined with registry-based caching.
This approach also reduces storage demands. When multiple images share common base layers, Docker stores them only once, saving space across your container registry and deployment environments.
Summary of Techniques
Here’s a quick comparison of the impact and complexity of these techniques:
| Technique | Typical Size Reduction | Security Impact | Implementation Complexity |
|---|---|---|---|
| Minimal/Distroless Images | 50-80% | Reduces attack surface significantly | Low |
| Multistage Builds | Up to 10x or more | Removes build tools and dependencies | Medium |
| Dockerfile Optimisation | 10-30% | Fewer vulnerabilities from extra packages | Low |
| Layer Reordering | Varies | Minimal direct impact | Low |
These strategies work best when combined. Start with a minimal base image, use multistage builds, and optimise your Dockerfile for maximum impact. Together, they can revolutionise your container performance and operational efficiency.
Tools for Analysing and Optimising Image Layers
Once you've explored layering techniques, the next step to refining container image efficiency is selecting the right tools. These tools help you inspect, analyse, and optimise image layers, ensuring your container images are as lean and efficient as possible. From visual insights to automated slimming, there's a tool for every need.
Dive and SlimtoolKit
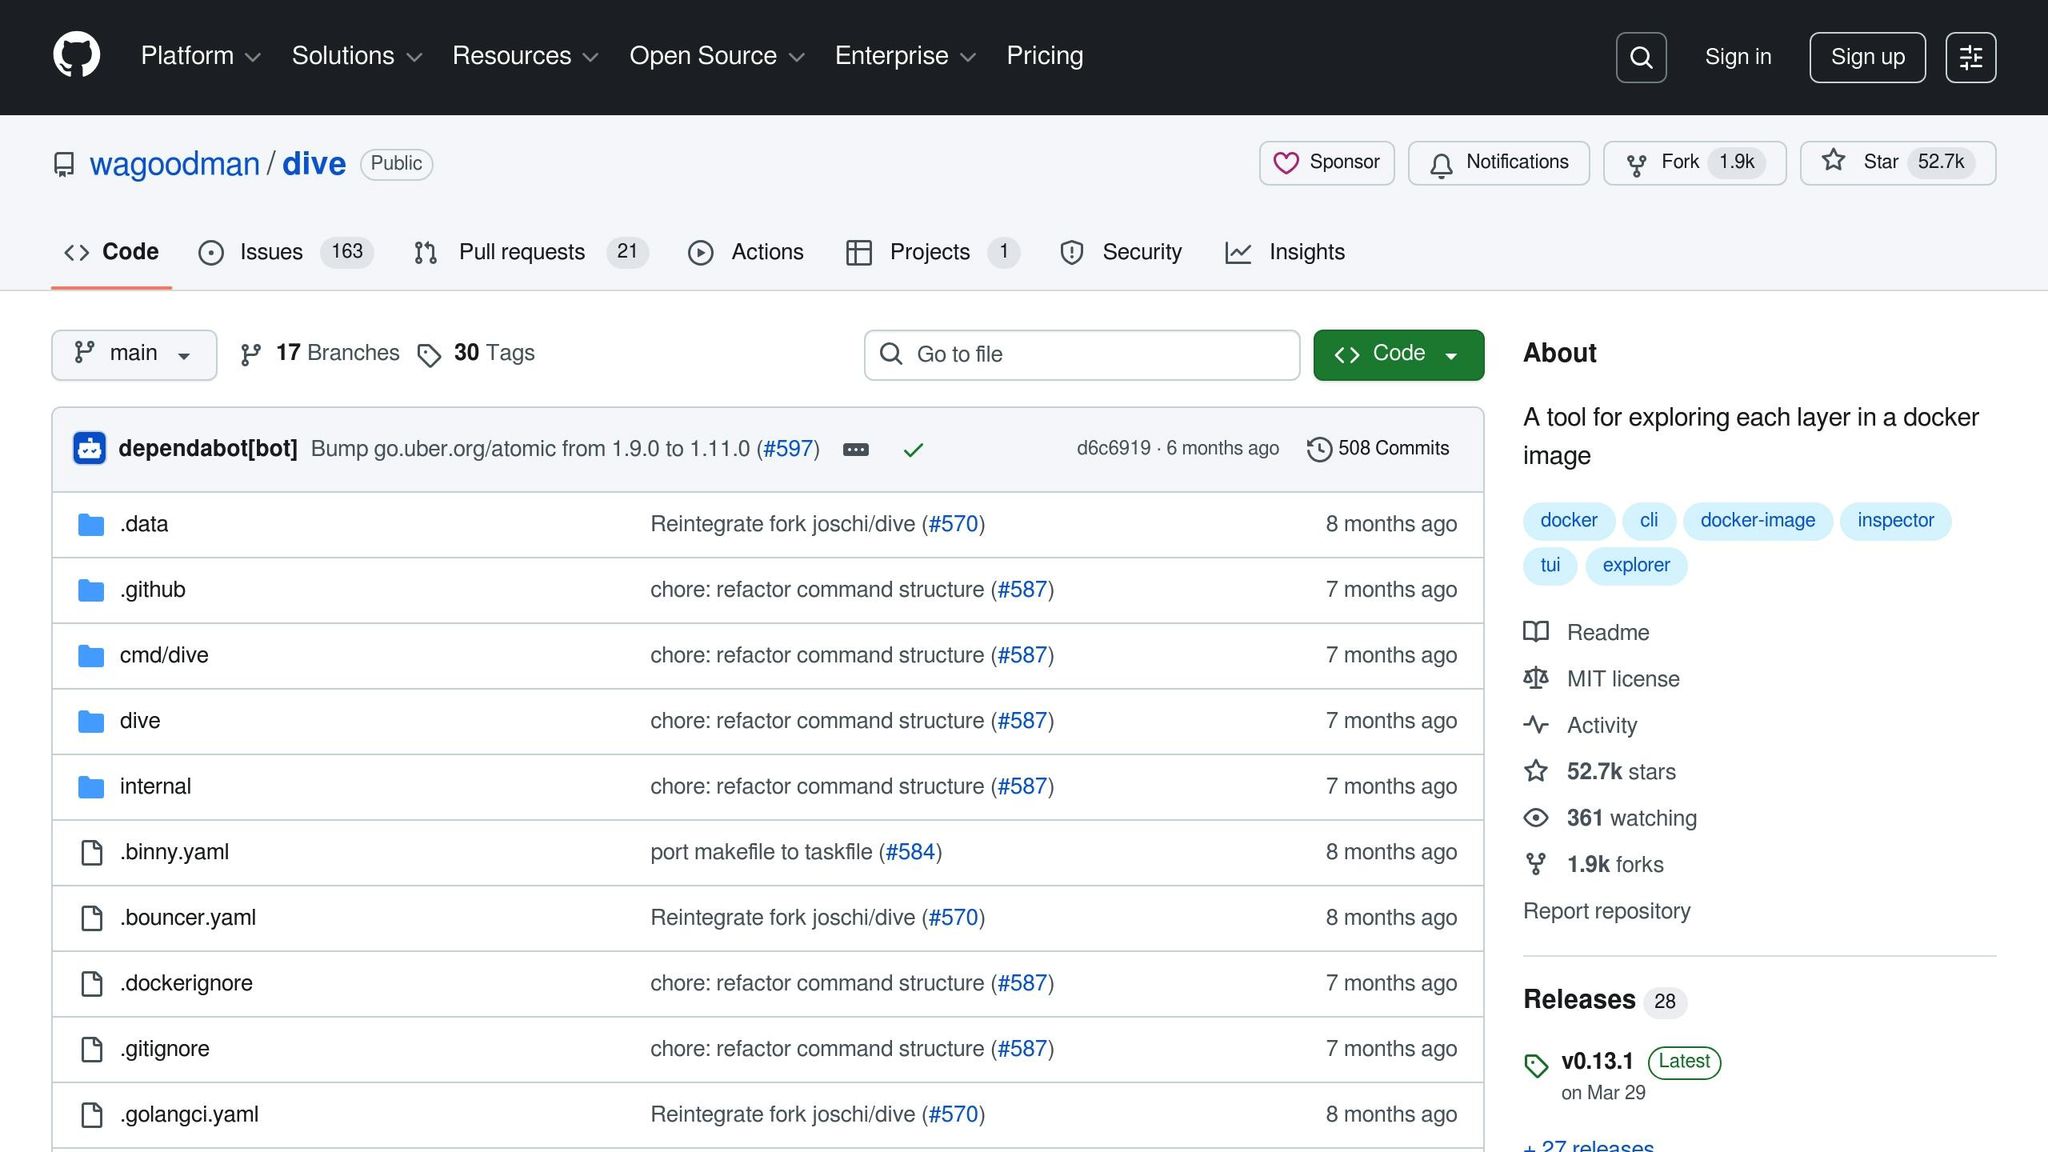
Dive is a great tool for visually breaking down your container images. It provides a detailed, layer-by-layer view, showing file sizes, additions, and changes at every step. This makes it easy to spot oversized files that shouldn’t be there or identify which Dockerfile instructions are creating unnecessarily large layers. It's particularly useful for manual inspections and understanding how your image is structured.
SlimtoolKit (previously known as DockerSlim) takes a more automated approach. It analyses your container images and strips away unnecessary files and dependencies without requiring manual input. By monitoring runtime usage, it creates minimal images, often reducing sizes by up to 30 times [4].
SlimtoolKit is perfect for production pipelines where automation and consistency are essential. Its ability to streamline images with minimal effort makes it a valuable tool for maintaining efficiency over time.
Docker Slim and Docker Squash
Docker Slim is another runtime-driven tool that focuses on creating minimal images. It keeps only the components your application actually uses, cutting down on unnecessary bloat. This is especially helpful in performance-critical environments where every megabyte counts.
On the other hand, Docker Squash tackles a different challenge: layer complexity. When a Dockerfile generates many layers - often with temporary files or deleted content - Docker Squash can consolidate them into a single layer. This reduces redundancy and simplifies the image.
A great example comes from Sealos in 2024, where they reduced a container image from 800GB to just 2.05GB by squashing 272 layers into one and removing a problematic file. This effort led to a 65% faster image pull time, a 78% drop in disk I/O, and savings of approximately £350 per cluster per month in storage costs [1]. If you're using the Docker CLI, there's even a built-in --squash flag that allows you to consolidate layers during the build process [3].
Tool Comparison
Each tool has its strengths, and choosing the right one depends on your specific needs. Here's a quick comparison:
| Tool | Main Function | Typical Reduction | Best Use Case | Integration Complexity |
|---|---|---|---|---|
| Dive | Visual layer analysis | N/A (analysis only) | Manual inspection, education | Low |
| SlimtoolKit | Automated optimisation | Up to 30x | Production pipelines | Moderate |
| Docker Slim | Runtime behaviour monitoring | 30-50% | Performance-critical environments | Moderate |
| Docker Squash | Layer consolidation | Varies significantly | Legacy images, complex builds | Low |
Dive is ideal for learning and understanding your images. It doesn’t require any integration and allows you to manually optimise based on its insights.
SlimtoolKit is the go-to for automated, consistent optimisation in production. It integrates well with CI/CD pipelines but requires thorough testing to ensure your application functions correctly after slimming.
Docker Slim is best when you need the smallest image possible and can accommodate runtime monitoring. It’s particularly effective for microservices, where deployment speed is critical.
Docker Squash is great for simplifying legacy images or Dockerfiles with many layers. It’s easy to use and helps streamline builds, though it may not always achieve the dramatic size reductions seen with other tools.
For organisations in the UK, these tools can lead to substantial savings in cloud hosting costs. Smaller images mean reduced storage and bandwidth expenses (billed in GBP), faster deployments that align with local SLAs, and a lower risk of exceeding resource quotas [1][6].
To maximise benefits, monitor metrics like image size, number of layers, pull times, build times, and storage costs in pounds sterling. This data will help you determine which tools offer the best value for your specific needs. For more complex scenarios, consulting experts like Hokstad Consulting can provide tailored strategies for ongoing optimisation tailored to UK deployments.
Need help optimizing your cloud costs?
Get expert advice on how to reduce your cloud expenses without sacrificing performance.
Adding Layer Optimisation to CI/CD Pipelines
Building on the Dockerfile and layering techniques we've covered, integrating these strategies into your CI/CD pipeline can significantly boost efficiency. Instead of treating image optimisation as an afterthought, embedding it into your deployment workflow ensures consistent performance and cost savings across deployments.
Docker Layer Caching for Faster Builds
Docker's layer caching is a game-changer for speeding up builds. By reusing unmodified layers, it can cut build times from minutes to seconds, which also reduces CI/CD infrastructure costs. Here's how it works: Docker assigns a unique hash to each layer based on its contents. If a layer hasn't changed since the last build, Docker skips rebuilding it.
Take a Node.js project, for example. If your dependencies remain unchanged, Docker will reuse the cached layer for those dependencies, focusing only on updating your application code. This approach avoids redundant steps, saving both time and resources.
For businesses in the UK, this efficiency can be especially valuable. Faster builds mean your CI/CD servers spend less time processing each deployment, which translates to lower infrastructure costs - an important benefit for companies operating on tight budgets.
Structuring Dockerfiles for CI/CD Efficiency
The way you structure your Dockerfile plays a big role in maximising cache reuse. Place stable dependencies, like libraries and frameworks, at the top of your Dockerfile. Application code, which changes more frequently, should go at the bottom. Using multistage builds is another effective technique - it separates runtime environments from build tools, keeping your final image lean.
While minimising the number of layers is generally a good practice, there are exceptions. Sometimes, splitting commands into separate layers can actually improve cache hit rates. It's all about finding the right balance between simplicity and performance.
These strategies not only enhance build performance but also reduce image sizes, which can be particularly advantageous for UK deployments.
UK-Specific Deployment Considerations
Optimisation strategies take on added significance when targeting UK-specific deployments. Local hosting costs, data residency requirements, and network performance across UK data centres all benefit from deploying smaller, more efficient images.
Smaller images don't just save on storage costs - they also make compliance with UK data protection regulations more manageable. With fewer components, optimised images are easier to audit and present a smaller attack surface for vulnerabilities.
Network performance is another key factor. Optimised images result in faster pulls, which means quicker deployments. This can help meet service-level agreements and improve customer satisfaction. To monitor these improvements, track metrics like image sizes, pull times, and storage costs (in pounds sterling) in your CI/CD dashboards. Setting clear goals for image optimisation can encourage ongoing improvements.
For businesses dealing with complex setups - such as hybrid deployments, multiple cloud providers, or strict compliance requirements - expert guidance can be invaluable. Hokstad Consulting, for instance, specialises in DevOps transformation and cloud cost engineering, offering tailored solutions that address both technical challenges and UK-specific regulatory needs.
Conclusion: Benefits of Effective Layering
Getting container image layering right can completely change how applications are deployed and managed. When done well, it brings measurable improvements, especially for businesses that deploy frequently.
Key Takeaways
The layering techniques discussed earlier - like multistage builds, using minimal base images, and organising layers properly - deliver impressive results. For instance, a fintech company managed to shrink a Node.js microservice image from 1.3GB down to just 87MB, a massive 93% reduction. This cut deployment times from 8 minutes to just 30 seconds [3].
Another example comes from the Sealos team, who reduced an image size from 800GB to 2.05GB - an astonishing 99.7% reduction - by squashing 272 layers and removing a problematic file. This change led to 78% less node disk I/O and 65% faster image pull times [1].
For businesses in the UK, these kinds of performance improvements translate directly into cost savings. For example, storage costs could drop from around £400 per cluster per month to just £55 per cluster per month [1]. Multiply this by multiple services and frequent deployments, and the savings quickly add up. Beyond the financial benefits, these optimisations also streamline CI/CD processes, making them faster and more efficient.
Security is another major win. Smaller images mean fewer vulnerabilities, as there are fewer unnecessary tools or libraries that could be exploited. This also makes scanning for vulnerabilities quicker and more effective [3].
Ongoing Optimisation and Expert Support
However, container optimisation isn’t a one-and-done task. Applications change over time, so regular reviews and updates are essential. Teams should set goals for image sizes and track these metrics on their dashboards, celebrating improvements to keep the momentum going [3]. Quarterly reviews can help catch inefficiencies before they become major issues.
Given the complexity of modern containerised environments, expert guidance can make a big difference. Comprehensive optimisation involves auditing existing images, improving CI/CD pipelines, and training teams on best practices. For UK organisations dealing with compliance challenges, hybrid deployments, or intricate cloud setups, tailored support from specialists like Hokstad Consulting can ensure these strategies are effectively implemented and maintained.
Hokstad Consulting offers services like DevOps transformation, cloud cost engineering, and strategic cloud migration. With their expertise, businesses can establish and sustain optimisation programmes that deliver ongoing benefits.
FAQs
How can multistage builds help reduce container image sizes and speed up deployments?
Multistage builds are a smart way to shrink container image sizes while making deployments smoother. By structuring your Dockerfile into multiple stages, you can separate the process of building your application from creating its final production image. This means your production image will only contain the essential files, dependencies, and tools your application needs to run - nothing more, nothing less.
Here’s how it works: In the first stage, you might use a larger base image packed with all the build tools you need. Once the application is built (for example, compiled binaries), you copy just those necessary outputs into a much smaller, lighter production image. The result? A compact image that's easier to manage, with fewer vulnerabilities and a smaller attack surface. Plus, this method improves build caching, speeding up deployments and saving resources.
What are the security advantages of using minimal or distroless base images in containerisation?
Using minimal or distroless base images in containerisation can greatly improve security. These images are stripped down to include only what’s absolutely necessary for your application to function, cutting out extra packages that could introduce vulnerabilities.
Distroless images take this a step further by leaving out package managers and shell utilities. This makes it much harder for attackers to exploit or tamper with the container. By keeping things lean, you’re not just boosting security - you’re also making compliance checks and audits much more straightforward for your containerised applications.
How can optimising Dockerfiles and reordering layers enhance build efficiency and reduce storage costs?
Streamlining your Dockerfiles and thoughtfully organising layers can make a big difference in build efficiency while cutting down storage expenses. By arranging instructions to limit changes between layers, you can leverage Docker's caching feature. This approach speeds up the build process and avoids redundant tasks.
To further optimise, consider using smaller base images, clearing out unneeded files, and merging related commands into single layers. These steps shrink the overall image size, saving storage space and reducing data transfer costs when moving images between environments.